Deploying a virtual Test Agent in Oracle Cloud
Introduction
This page describes how to deploy a Paragon Active Assurance Test Agent in Oracle Cloud.
Prerequisites
Oracle Cloud uses QEMU as its underlying virtualization platform and thus accepts images in QCOW2 and VMDK format.
A Test Agent image in QCOW2 format is available in Control Center under Test Agents > Download. If you prefer VMDK, you can easily convert the QCOW2 image to that format, or you can extract it from the OVA provided in the same dialog.
Further prerequisites are as follows:
An account in Oracle Cloud.
A Test Agent boot disk made available in Oracle Cloud as a custom image.
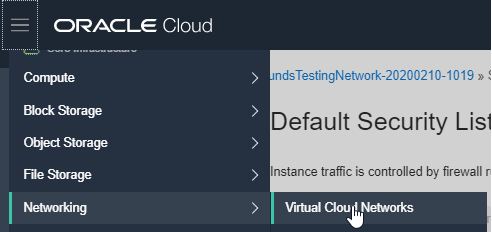
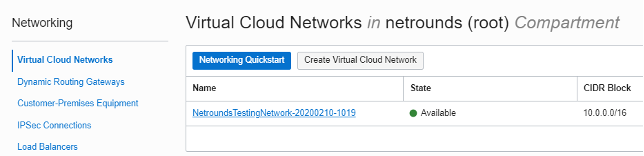
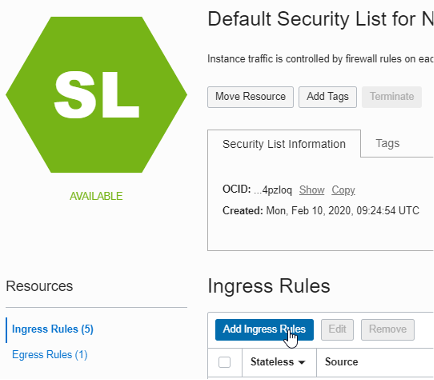
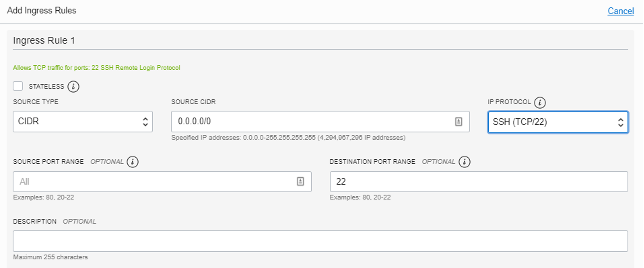
A defined virtual cloud network resource in Oracle Cloud. The network needs at least SSH access from the desired source IP address. This configuration can be done under the selected virtual cloud network under Security List: see the following screenshots.
Note
For security reasons, please restrict the range of sources from which SSH access is enabled. Do not accept SSH access from any source address.

Deploying the Test Agent in Oracle Cloud
Creating an Oracle bucket
Go to the Oracle Cloud console.
Select the compartment “netrounds (root)”.
Go to Object Storage in that compartment.
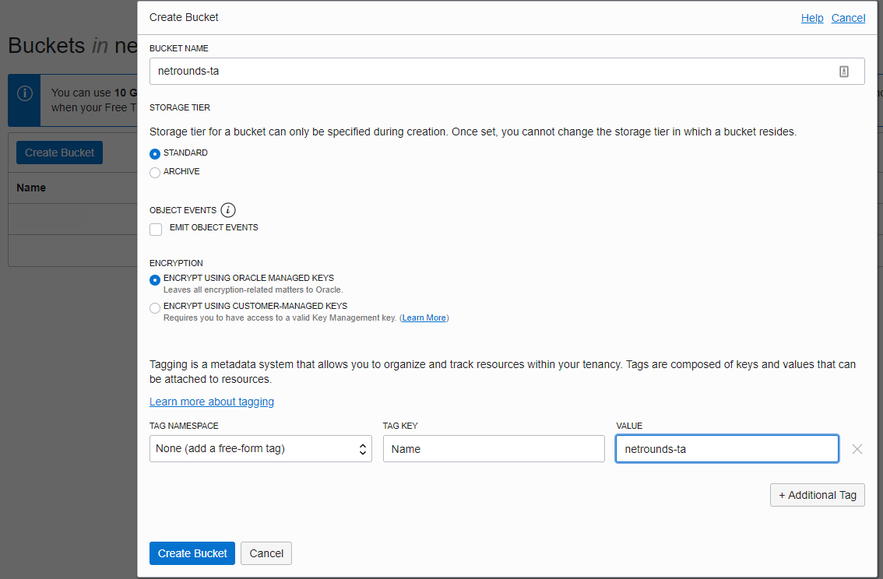
Create a new bucket to upload the Test Agent disk image to. Make settings as shown in the screenshot below, then click Create Bucket.
Uploading the image to your bucket
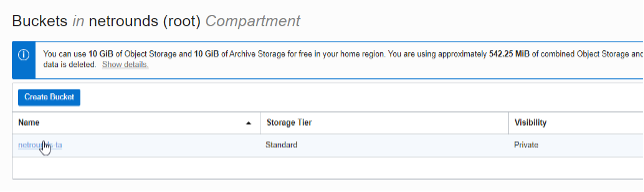
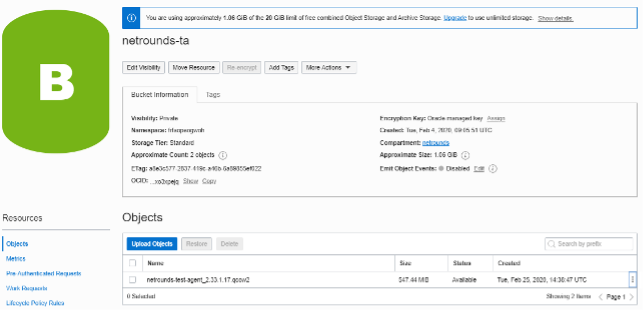
Click the bucket name in the list of buckets.
Upload the QCOW2 image. For more information, see the Oracle Cloud online documentation at https://docs.oracle.com/en-us/iaas/Content/Compute/Tasks/importingcustomimagelinux.htm. In the example below, the QCOW2 image has been used. The VMDK format can be easily obtained either by converting the QCOW2 image or by uncompressing the OVA offered in Paragon Active Assurance Control Center.
Click the three-dots button for the image (on the far right).
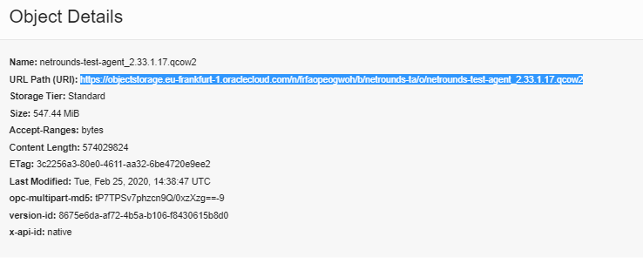
Select View Object Details to get the object storage ID (URL path).
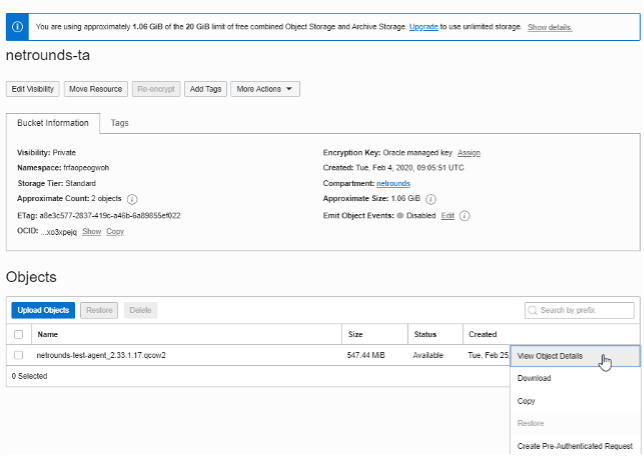
Copy URL Path (URI). It will be needed in the next section below.
Creating a Test Agent custom image
This process is needed to be able to boot virtual Test Agents from the Paragon Active Assurance image uploaded in the previous section.
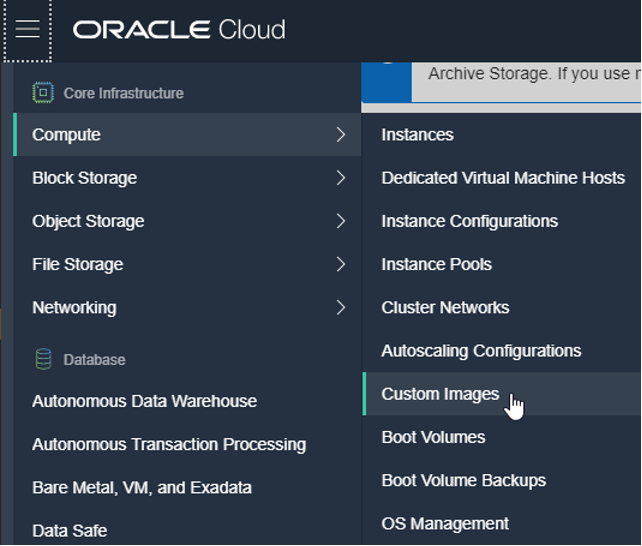
Go to the Oracle Cloud menu and select Custom Images.
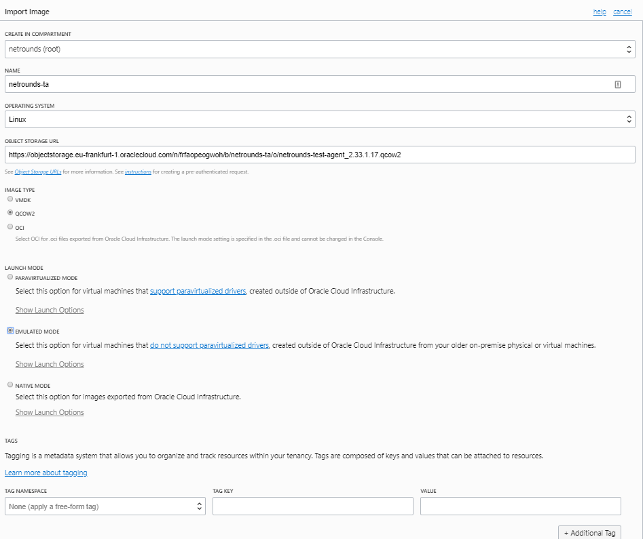
Now it is time to import the disk image you have uploaded as a bootable disk. Note that the bootable disk will be available in the compartment you have uploaded to. Here we will use the object storage ID to point to the disk.
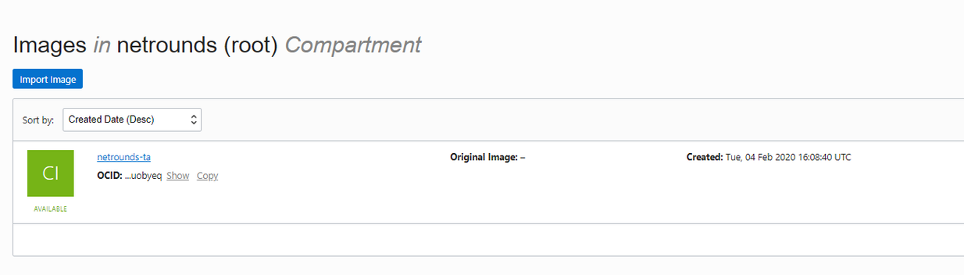
Once you have created the image, it will be displayed in your inventory:
Deploying the Test Agent from the custom image
Important
At this point, if no network has been previously created in your Oracle Cloud, a default network will be created (for example, 10.0.0.0/16). This will be displayed in the configuration template (Virtual cloud network in this step below). You will need to choose where to attach the image.
Go to Instance > New Instance > Create New Instance.
Enter a name for the instance.
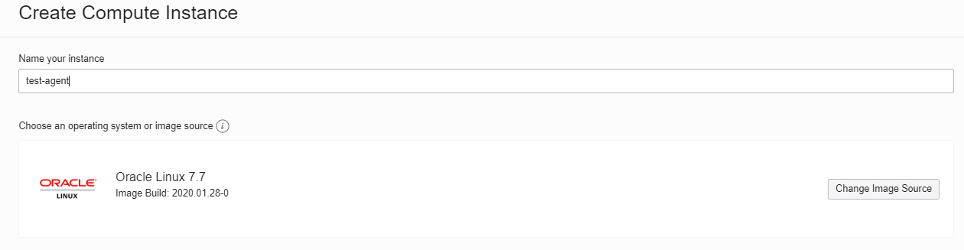
Click the Change Image Source button and select the Custom Images option. At this point the uploaded image (below, “netrounds-ta”) should be displayed as a selectable item.

Click Show Shape, Network, and Storage Options to configure things such as:
Availability domain
Instance type: Virtual machine or bare metal instance (a cost will be applied for the latter).
Instance shape: The Test Agent has been tested with the default instance shape. The available virtual machine shapes can be found at https://docs.oracle.com/en-us/iaas/Content/Compute/References/computeshapes.htm#vm-standard.
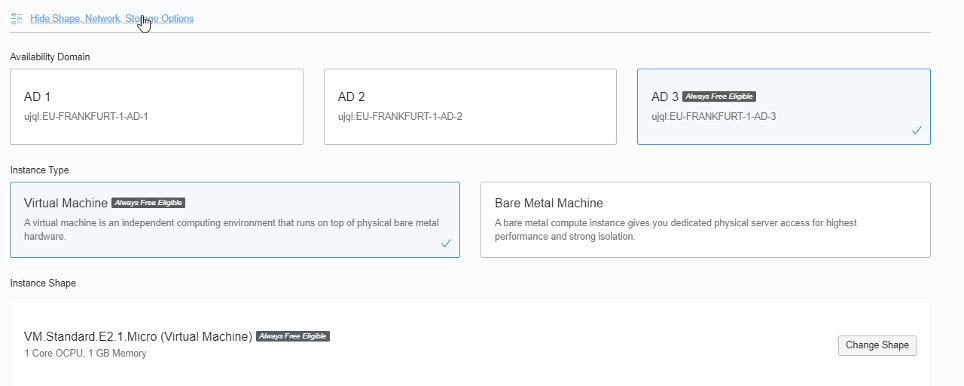
Here are some examples of instance shapes:

Note
The Test Agent should be assigned resources according to the specifications for production environments:
2 vCPUs
4 GB RAM
2 VNICs, 1 for management and 1 for testing
Test Agent image disk size: 2 GB
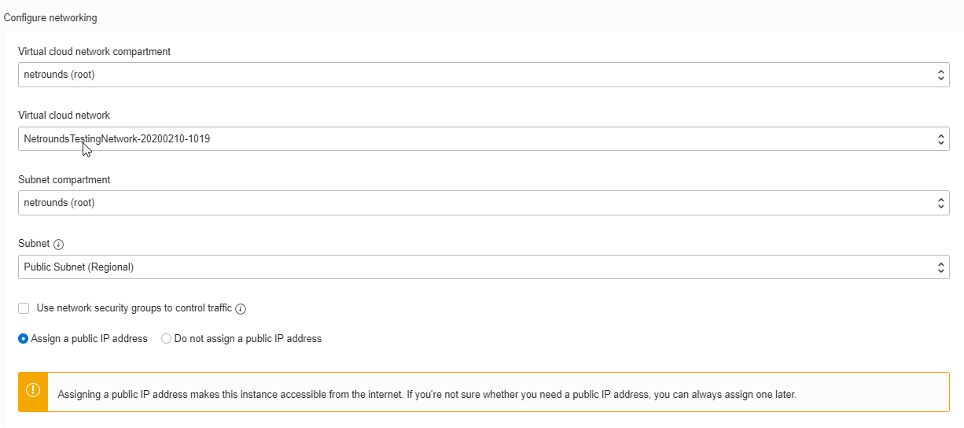
Configure other basic settings such as the following (the rest are optional):
Virtual cloud network compartment: The compartment which the virtual machine will belong to.
Virtual cloud network: The virtual cloud network needs to be defined prior to deployment. If no cloud network has been defined, Oracle Cloud offers you to set up a virtual cloud network with the default security group. The default security group allows ingress SSH traffic to the network from any location and egress traffic without any restrictions.
Use network security groups to control traffic: On top of the security group, other policies can be applied to the specific virtual machine. These policies need to be defined prior to deployment.
Assign a public IP address: Here you assign a public IP to associate with the Test Agent.
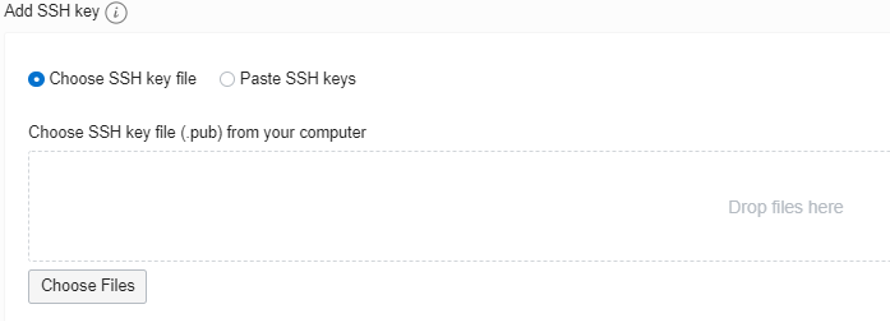
Choose an SSH key:
Optional: If you want to use cloud-config to register the Test Agent, go to Advanced Options > Management and paste the cloud-config data in the User data section:

Finally, click the Create button.
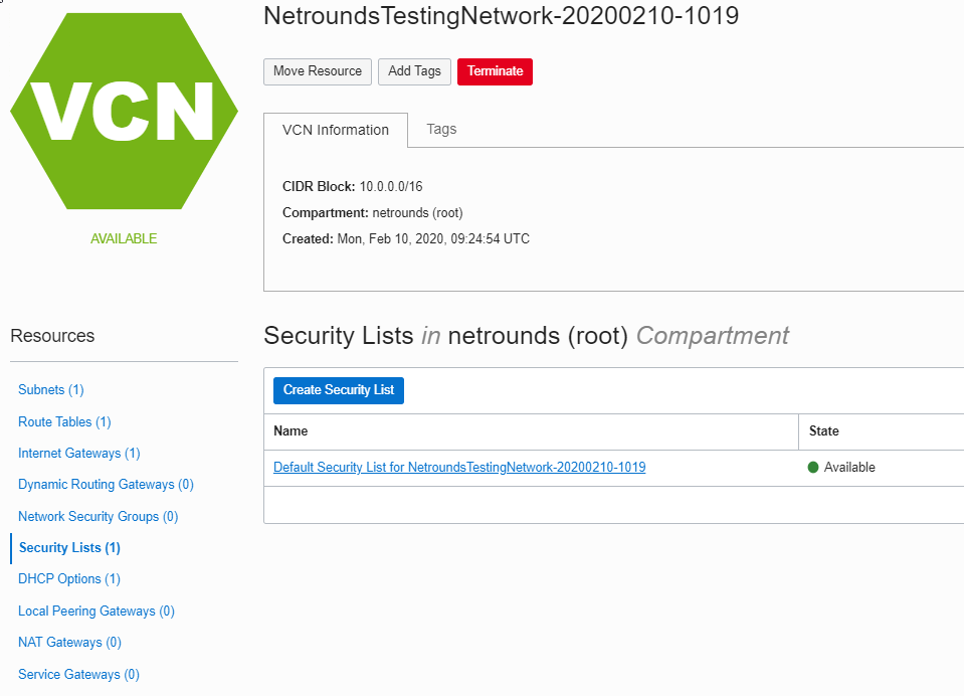
Example of network
Below is an example of what the network the Test Agent is attached to may look like.
The compartment should be the same when deploying the virtual machine.
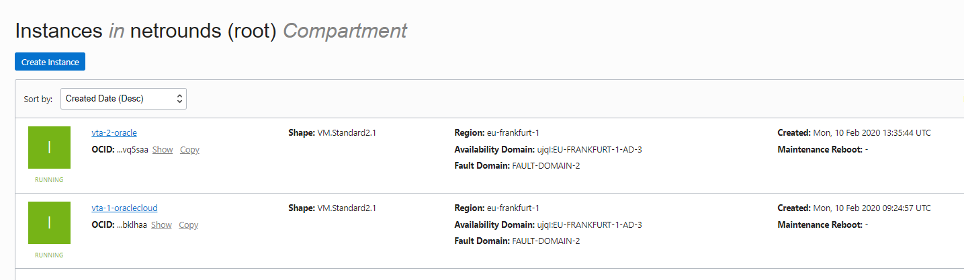
Displaying of running Test Agents
The Instances service will display successfully deployed Test Agent instances as follows:
Connecting to the Test Agent’s serial console
Once the Test Agent is online, if a public IP address has been assigned to it, the serial console will be reachable using port 22 on that address. Remember that the security list needs to allow an SSH connection from the source IP addresses, as explained in the Prerequisites section. The public SSH key must be assigned to the Test Agent at booting time. To log in to the Test Agent console, use the admin user, and the Test Agent menu will be displayed.