Using tags to group and manage Test Agents
Tags simplify management of Test Agents in the Test Agents view. Tags provide a means to group Test Agents into categories, so that you can quickly select relevant devices on which to start a new test or monitoring session. This feature is particularly helpful if your fleet of Test Agents is large.
A tag can consist either of a key alone (for example, “location”) or of a key with an accompanying value (for example, “location:sweden”). A colon is used as separator between key and value. Tags may consist of up to 50 characters, which may be lowercase letters or digits.
In the Test Agents view it is possible to:
add a tag to selected Test Agents
remove a tag from (“untag”) selected Test Agents.
Note that the tags themselves, once created, cannot be deleted from the Control Center GUI.
Adding tags to Test Agents
First select the Test Agents that you want to tag.
 Click the Tags button at the top of the page.
You can either create a new tag or select an existing tag:
To create a new tag, type the desired string into the box, then click the Tag button.
To select an existing tag, click the down arrow and select the desired tag from the drop-down box (optionally, you can type the first few characters of the tag name to match the name). Then click the Tag button. See the screenshot below:

Each tag will show up in a box next to the Test Agent name.

It is possible to add several tags to the same Test Agent.
Using tags to filter Test Agents
Select the Tags checkbox in the search field, and a drop-down list appears holding all defined tags.
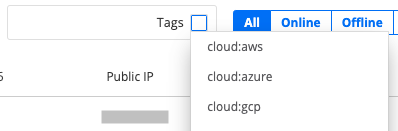
Select one or several tags to filter the Test Agents view on these tags. The Test Agents having all the selected tags will then be displayed.
To display the full list again, just deselect all tag names in the Tags drop-down in the search field.
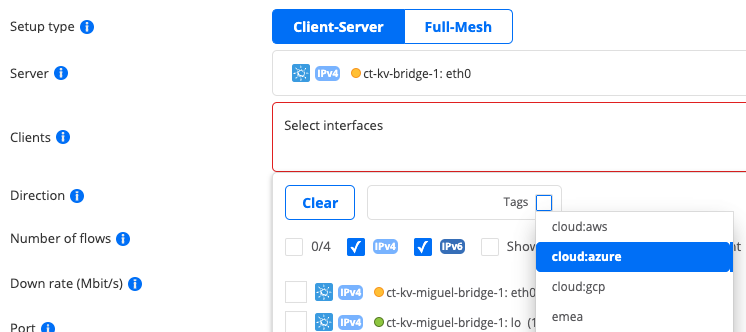
Filtering on tags can also be applied when you select interfaces during creation of new tests and monitors. Just select the Tags option, then select the name of the tag(s) to filter on. See the example below.
Untagging Test Agents
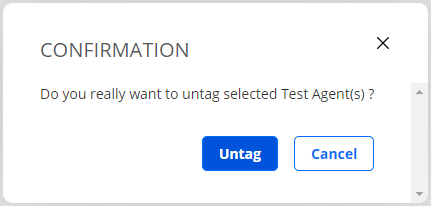
The simplest way to remove a tag from a Test Agent is to click the cross on the tag:
You are prompted to confirm this action. Click Untag.
Alternatively, you can do the following:
First select the Test Agents that you want to untag.
- Click the Tags button at the top of the page.
Then select the name of the tag to remove (“location:dublin” in the example below), and click the Untag button.
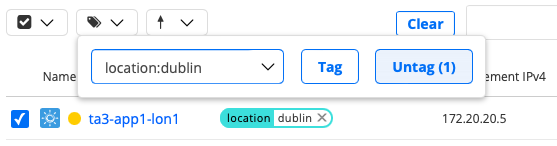
The tag is now removed from the selected Test Agents.