Configuring a Test Agent from the local console
Show system status/Show interface status
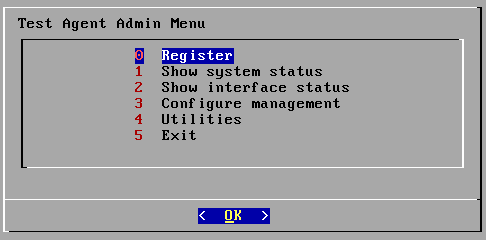
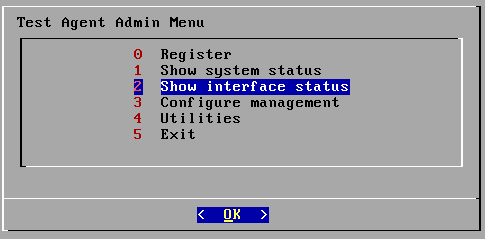
To inspect the current status of the Test Agent and its interfaces, navigate to Show system status and Show interface status respectively in the text-based menu.
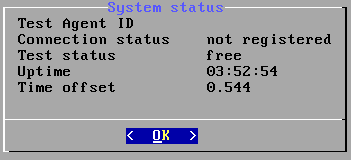
The System status screen shows the Test Agent ID. This ID is the unique identifier of a Test Agent, which simplifies correlation with the Test Agents you see in the GUI (the URL of the Test Agent ends with that identifier: in the above example, https://<Control Center host IP>/<your account>/genalyzer/55).
Connection status can have the following values: not registered, connecting, or logged in.
Not registered: The Test Agent is not registered to the Routing Active Testing account.
Connecting: The Test Agent is trying to connect to the Routing Active Testing server.
Logged in: The Test Agent is connected and logged in to the Routing Active Testing server.
Test status is one of the following: free, updating, or in use.
Free: The Test Agent is idle.
Updating: The Test Agent is downloading and installing the latest firmware. Note: Do NOT power off the Test Agent during updates.
In use: The Test Agent is performing tests or monitoring.
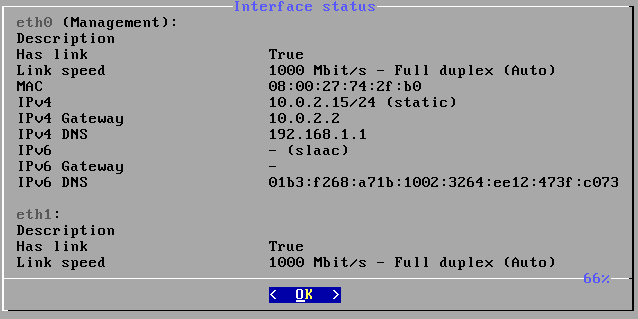
The Interface status screen shows the status of all available interfaces of the Test Agent. In the example shown, “eth0” is the management interface with link and IPv4 as well as IPv6 addresses, while “eth1” has no IP.
Configuring the management interface on a Test Agent
For configuration of Test Agent management over a mobile network interface, see this page.
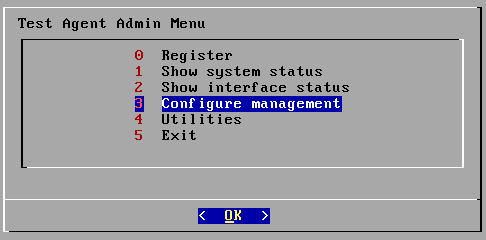
In the text-based menu, navigate to Configure management.
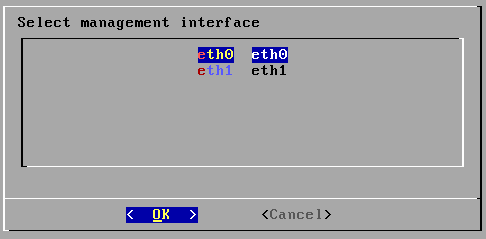
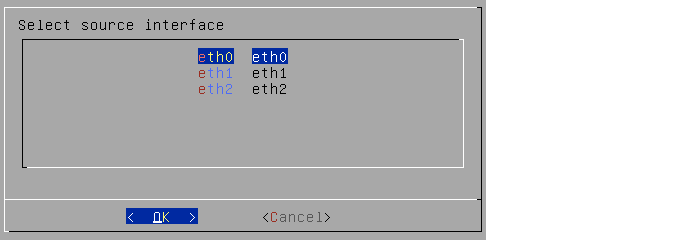
Select which interface should handle management traffic to and from the server (preferably, “eth0”).
Configuration of the other interfaces is done via the Routing Active Testing server; see Test Agent interface configuration.
Then select interface speed and duplex on the management port.

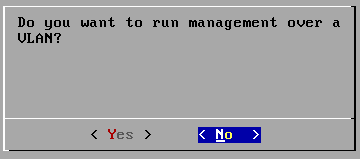
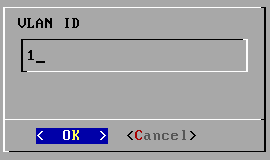
You are also asked whether to use a VLAN tag for the management interface. Select Yes or No. If you select Yes, enter the VLAN ID, for example “1” as in the screenshot.
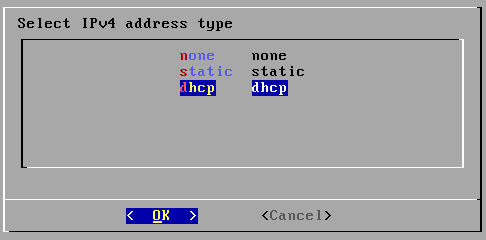
Next, select IPv4 address type: DHCP or static. Alternatively, you can choose not to configure an IPv4 address type by selecting “none”.
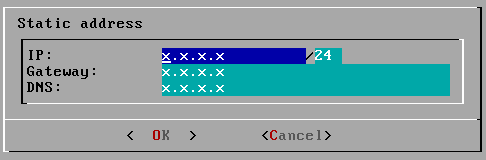
If you selected “DHCP” as address type, no more configuration is needed for IPv4. On the other hand, if you selected “static” as address type, you need to configure IP, Network mask, Gateway, and DNS in the format shown in the screenshot below.
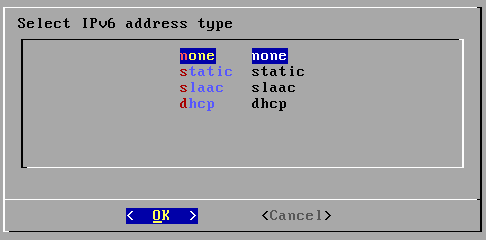
Now if you enabled IPv6 for management when registering the Test Agent, the next screen will prompt you to select IPv6 address type. This is one of “static”, “slaac”, or “dhcp”. If you don’t want to configure an IPv6 address, select “none”. (If IPv6 is not enabled, the configuration will skip to the NTP server setting.)
Again, for DHCP no more configuration is needed.
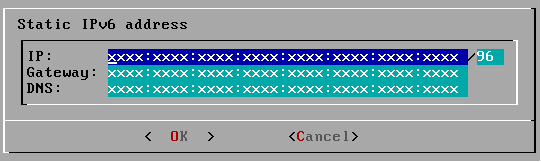
For “static”, you need to configure IP, Gateway, and DNS in the format shown in the screenshot.
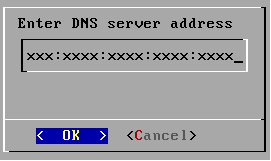
For SLAAC, enter the DNS server address:
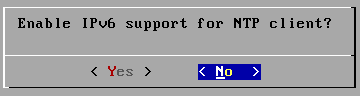
Next, you are asked whether to enable IPv6 support for the NTP client. If you do, you can specify an IPv6 address to the NTP server.
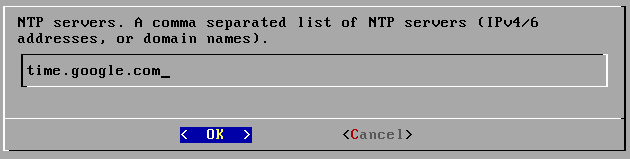
The NTP servers setting follows. You can use multiple NTP servers and/or NTP pools, specified as a comma-separated list. An NTP server can be specified either as an IP address or as a hostname. An NTP pool must be specified as a hostname. Up to four servers will be used from each pool. If you are running the Test Agent in Amazon WS, it is a good idea to use Amazon Time Sync Service, as explained here. To access this service, enter the IP address 169.254.169.123.
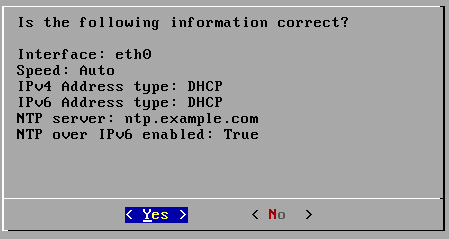
Finally, verify that the settings you have entered are correct. For example, Interface = “eth0.100” means VLAN ID 100 on the “eth0” Ethernet interface.
To check the configuration, navigate to Show interface status.
Example 1: “eth0” configured as management interface with no VLAN tag and address type = DHCP for both IPv4 and IPv6.
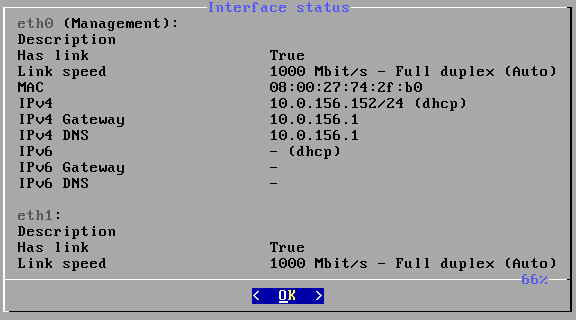
(When a percentage figure appears at bottom right, you can scroll up and down using the Page Up and Page Down keys, or their equivalents, to view the full contents of the screen. Only the topmost part is shown here.)
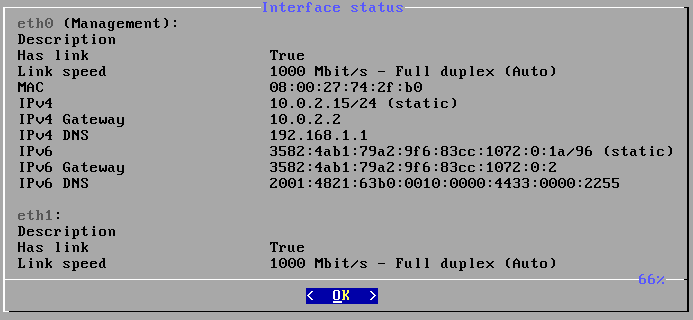
Example 2: “eth0” configured as management interface with no VLAN tag and address type = static for both IPv4 and IPv6.
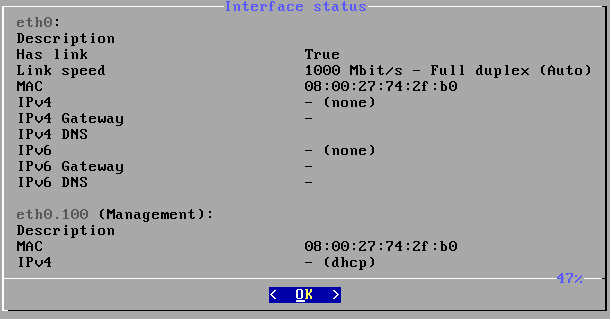
Example 3: “eth0” configured as management interface with VLAN tag and IPv4 address type = DHCP.
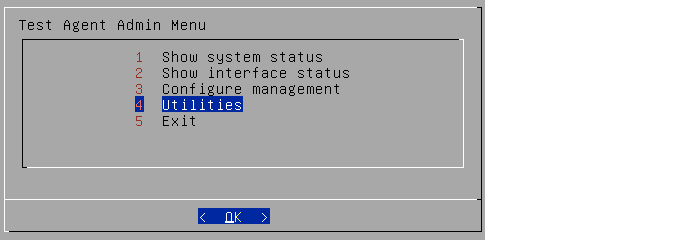
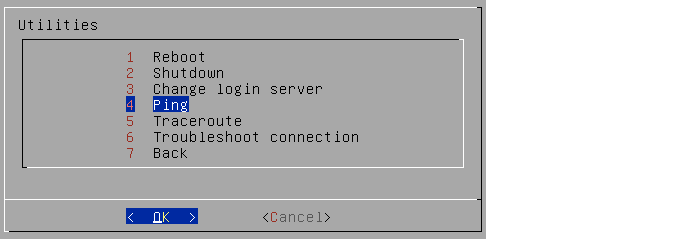
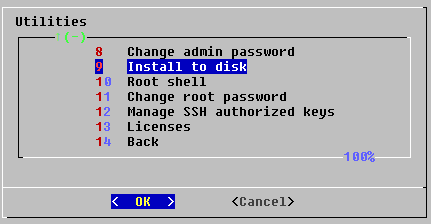
Using Test Agent utilities
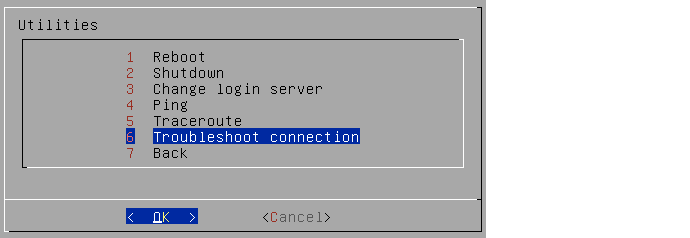
To access the Test Agent utilities, navigate to Utilities in the text-based menu.
Changing login server
To use the Routing Active Testing proprietary proxy function or a standard HTTP (web) proxy, navigate to Change login server. The concept of Test Agent proxy is described here.
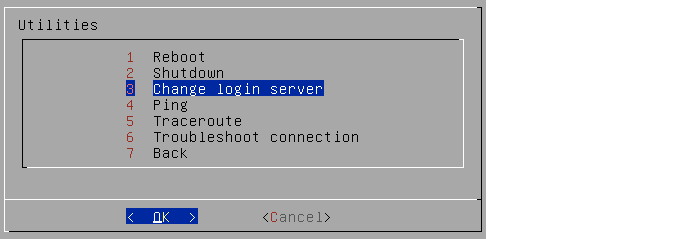
To be able to use the Test Agent proxy function, you need to change the login server here to point to the static IP address of the proxy Test Agent.
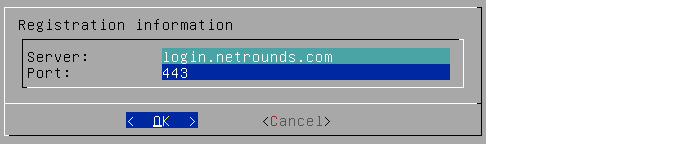
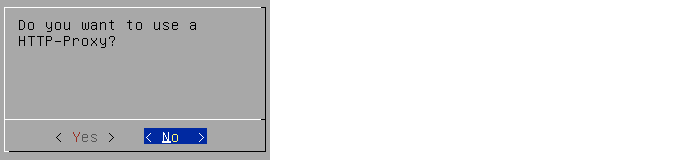
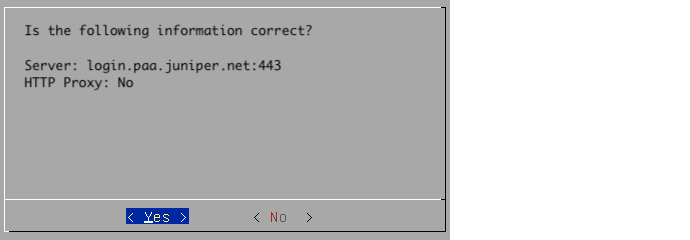
Select No if you are not using a standard HTTP proxy.
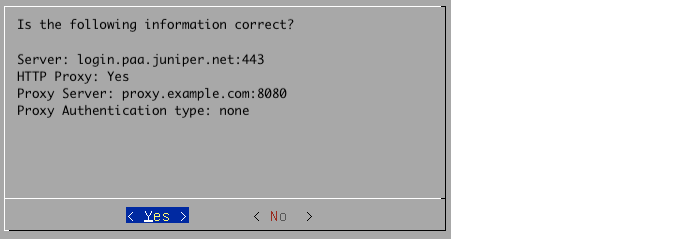
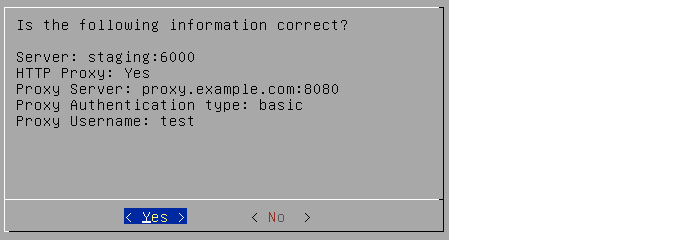
Check that the settings are correct, then select Yes.
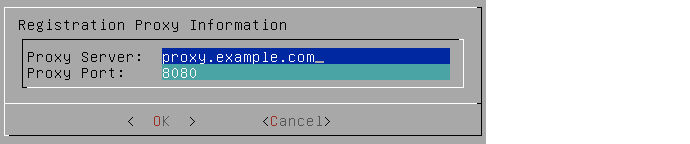
To use an HTTP proxy, answer Yes to the question “Do you want to use an HTTP proxy?” above, and proceed to fill in the proxy address.
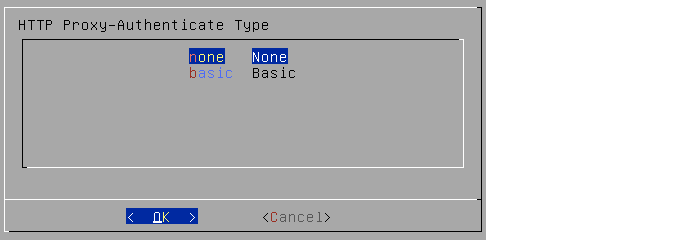
For HTTP proxy authentication, the options are none and basic. Make the appropriate selection.
No authentication
Basic authentication
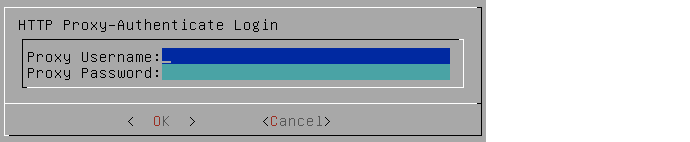
Fill in the requested credentials.
Ping
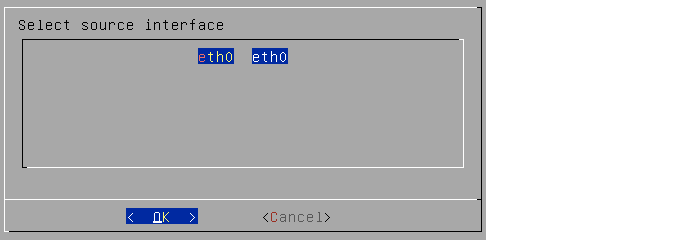
Select interface and enter the host to ping.

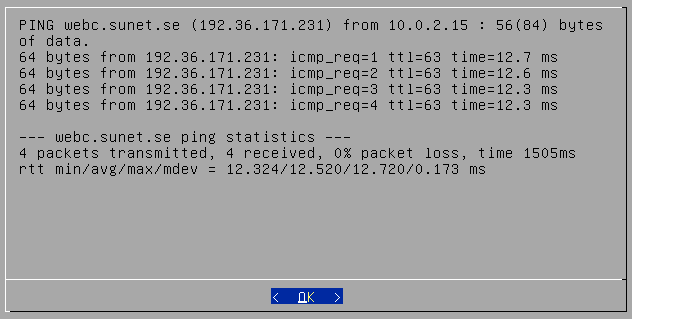
The Ping session is displayed as follows:
Traceroute
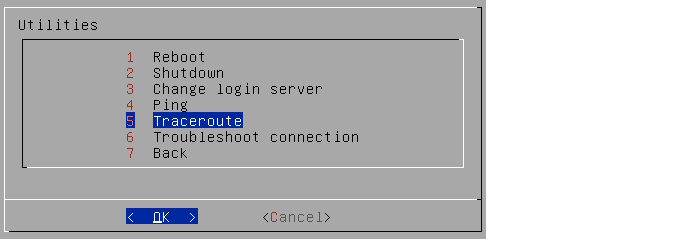
Select interface and enter the host to traceroute.

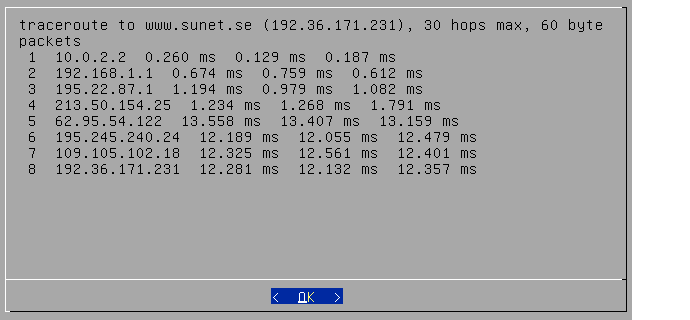
The Traceroute session is displayed as follows:
Troubleshoot connection
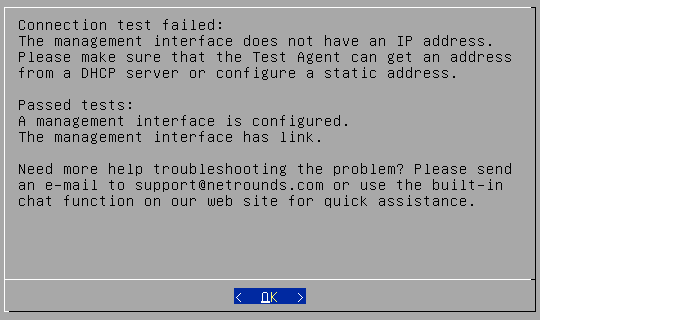
This function tests the management connection to verify that it is working.
The outcome is a pass/fail test result. An example of each is shown in the screenshots below.

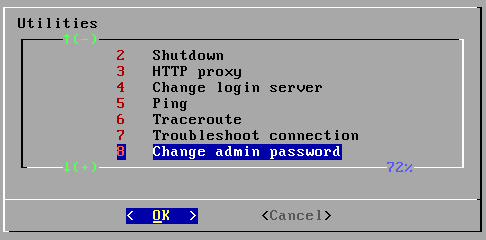
Change admin password
Here you can change the Test Agent admin password from the default (which is “admin”).
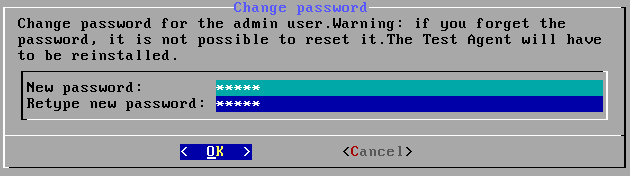
Type the current password.

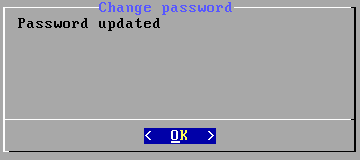
Type your new password twice, then select OK.
Warning
Take care not to forget this password, as it cannot be reset. If the password has been lost, the only way to make the Test Agent operational again is to reinstall it.
Provided that the two entries match, the admin password will be changed and a confirmation will be given as shown below.
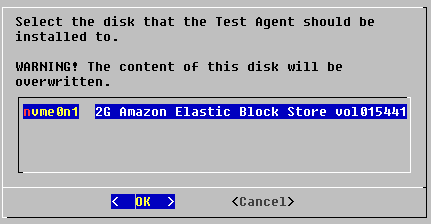
Install to disk
This utility lets you install the Test Agent to a different disk.
A list of available disks is displayed.
Warning
If you go ahead with the installation, any content on the selected disk will be overwritten.
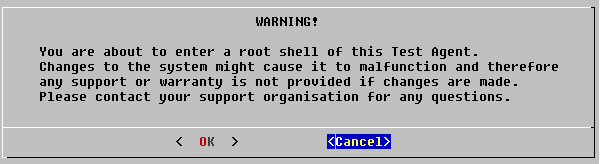
Root shell
This option allows you to enter a root shell of the Test Agent.
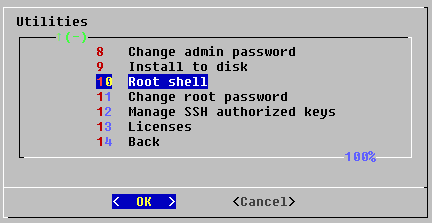
Warning
Be aware that changes made in the root shell may cause the Test Agent to malfunction.
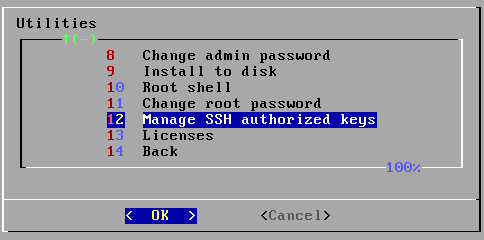
Manage SSH authorized keys
Here you can add SSH public keys to the Test Agent. Using the corresponding private key you can then log in to the Test Agent via SSH.
When first selecting this menu item, you are asked whether to add a key. Select Yes.
An example of how to generate an SSH key pair is given here.
Enter the SSH key.
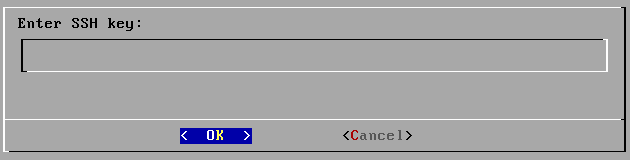
Note
The SSH key must not have any options specified, nor any leading or trailing whitespace such as spaces or newlines. Any such keys will be rejected by the Test Agent.
The dialog will now display a list of keys added (each key is truncated at the end of the line). Once a key has been installed on the Test Agent, SSH is automatically activated on that Test Agent.
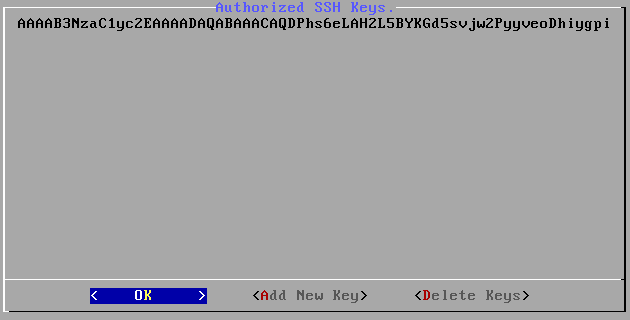
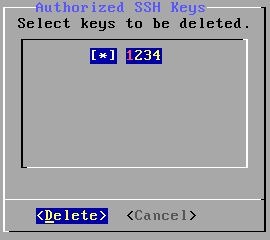
There are also options to add another key or delete keys. In the latter dialog, press Space to select the keys you want to delete:
If you delete all SSH keys on a Test Agent, SSH is automatically deactivated on that Test Agent.
SSH keys can alternatively be pushed to Test Agents from Control Center; see this page. Note that keys added from the local console cannot be managed from Control Center but can only be displayed there.
Licenses
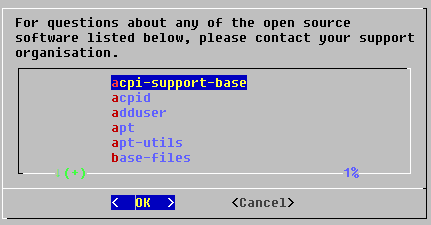
Here is displayed license information for open-source software used by Test Agents.
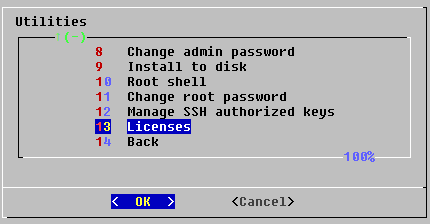
The software components are listed in alphabetical order. Select a component to view its license information.