Sharing Test Agents
You can share a Test Agent with partners or business associates. The Test Agent will be available for use in tests and monitoring in the accounts you share it to.
The packet capture function is disabled on shared Test Agents, and changing interface configurations is not possible.
The person sharing a Test Agent is called the “sharer” on this page, and the person receiving a shared Test Agent is referred to as the “sharee”.
How to share a Test Agent
Navigate to Test Agents in the main menu.
![]() In the Share column, click the icon for the Test Agent you want to share.
In the Share column, click the icon for the Test Agent you want to share.
In the dialog that appears, enter the account to share the Test Agent to and how many streams you want to assign to the shared Test Agent.
Click the Share agent button.
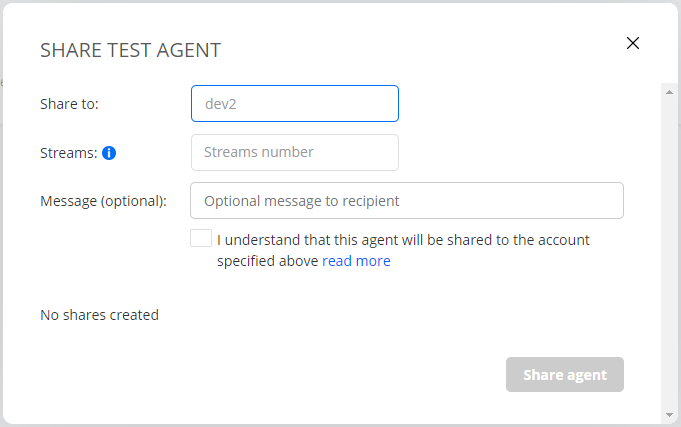
You will be notified as to whether the sharing was successful or not.
![]() The icon in the Shared column changes to a dark blue color:
The icon in the Shared column changes to a dark blue color:
On the License info tab you can see how many streams are used (not only shared streams) and how many streams are available.

Repeat this procedure if you want to share more Test Agents, or share the same Test Agent to multiple accounts.
Accepting a shared Test Agent
When a Test Agent is shared to an account, users of that account are notified by a digit appearing (or incrementing) on the top bar alarm bell. Clicking the alarm bell displays the following message:

Click the See details and choose whether to accept or reject the shared Test Agent:
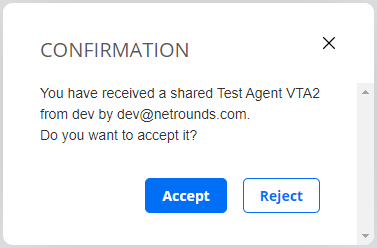
If you accept the share, the Test Agent will be accessible on the Test Agents screen in the section Shared with me:
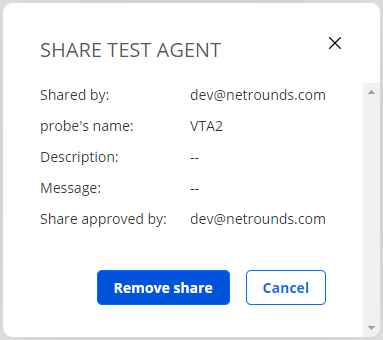
![]() Clicking the “shared from” icon displays sharing information:
Clicking the “shared from” icon displays sharing information:
Removing a shared Test Agent
Both sharer and sharee can remove a share.
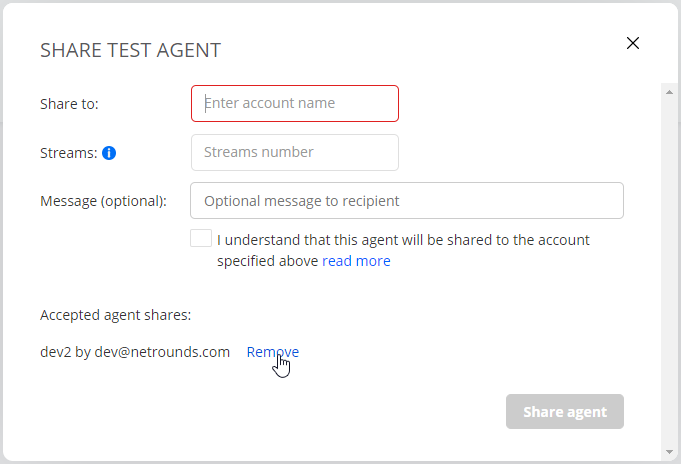
The sharer clicks the
 icon and then, in the dialog that appears, clicks the Remove link to the right of the Test Agent shared. See this screenshot:
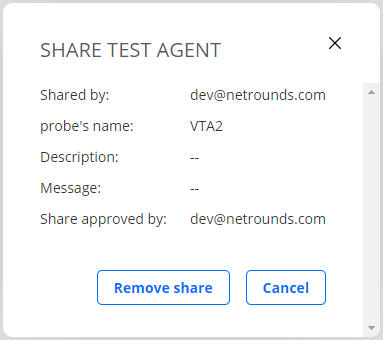
The sharee clicks the
 icon and then, in the dialog that appears, the Remove share button:
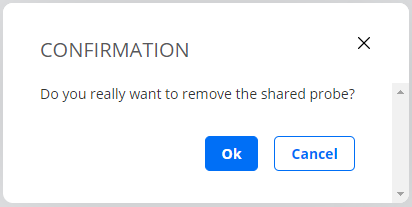
In both cases, a confirmation dialog appears:
