Deploying a virtual Test Agent image in Google Cloud
Introduction
This page explains how to deploy a Virtual Test Agent from Routing Active Testing as a virtual machine in Google Cloud.
Prerequisites
Control Center account
You need an account in a Routing Active Testing Control Center in order to access it: either the one belonging to the Routing Active Testing SaaS solution or one installed on-premise in your organization. If you do not already have a Routing Active Testing account, please contact your Juniper partner or your local Juniper account manager or sales representative.
vTA image
The vTA image is provided either by one of Juniper’s partners or directly by Juniper.
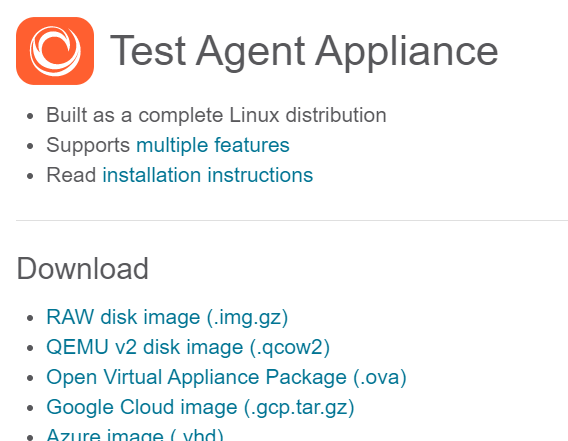
The vTA image for Google Cloud is available for download in Control Center. It has the file extension .gcp.tar.gz:
Once you have your vTA image, you need to upload it to your Google Cloud environment and deploy it.
Uploading and deploying a vTA image through the Google Cloud web GUI
Signing in to Google Cloud
Go to https://cloud.google.com.
Sign in to your Google account if you are not signed in already.
Uploading a Test Agent image to Google Cloud
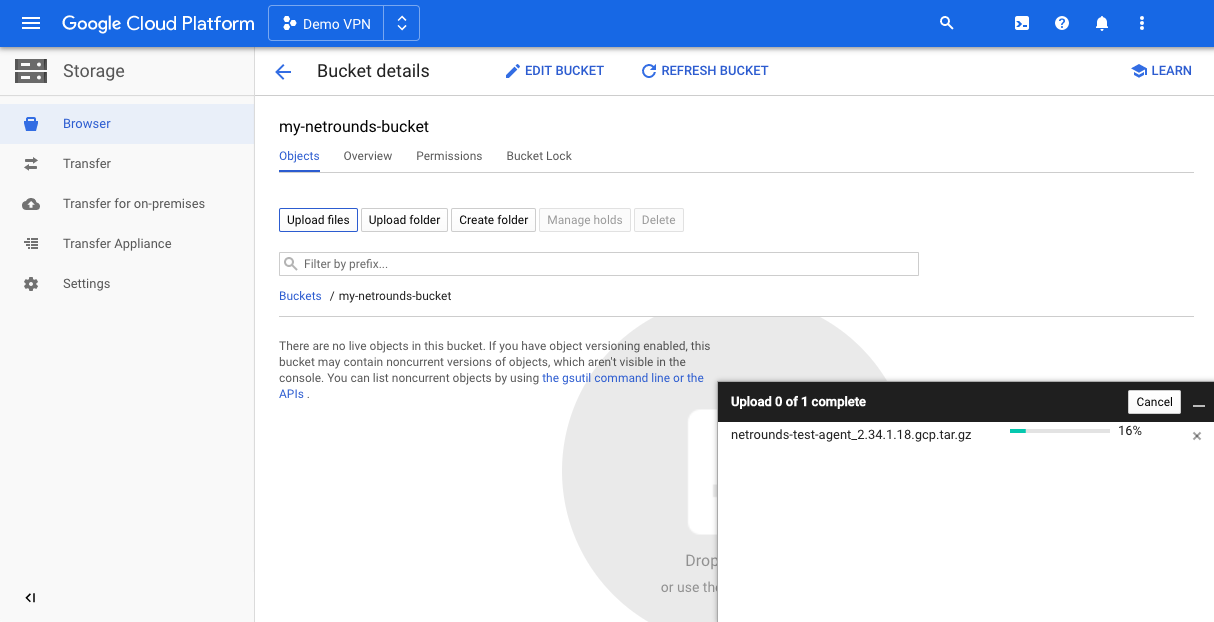
In your GCP console, create a storage bucket to host the Test Agent image file, and then click Upload files to upload the image to this bucket.
Registering a compute image
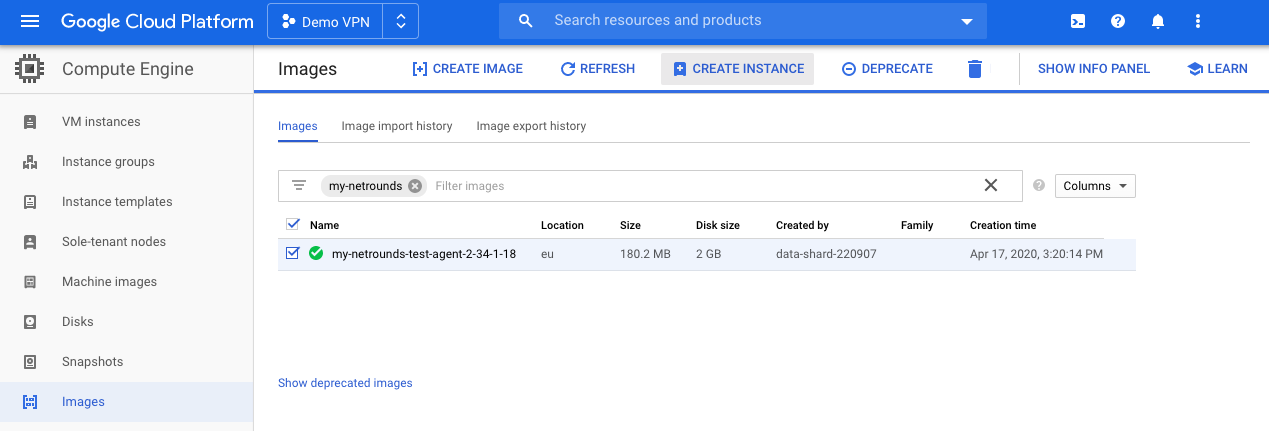
Register a new compute image by referring to the file in the cloud storage bucket (Cloud Storage File in the screenshot below). It will take a minute or two to create the image.

Creating a VM instance
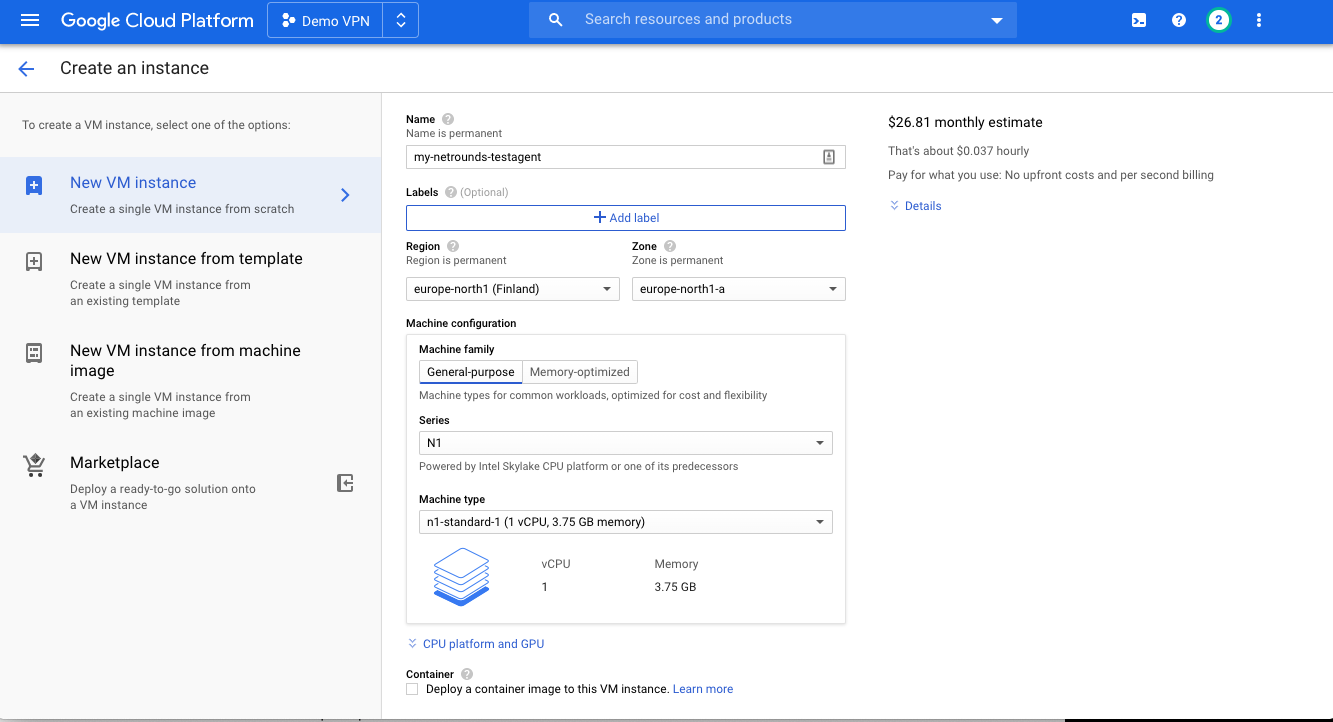
We can now launch compute instances based on this image:
The default Machine type is set to “n1-standard-1”, which works well with the Test Agent, but both smaller and larger instances are supported as well. All machine types available today should work fine with the Test Agent.
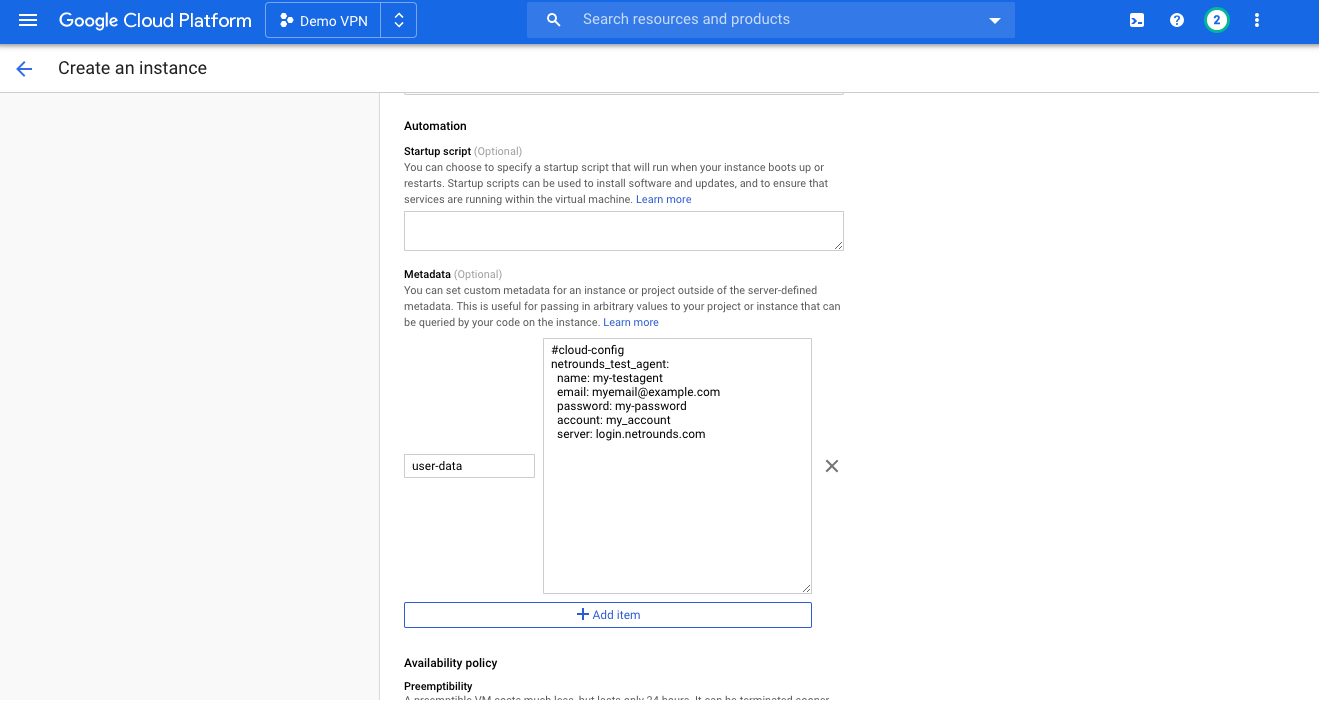
Under advanced settings it is possible to specify Metadata. This may be used to provide cloud-config to register the Test Agent with Control Center.
The user data should be provided as value to the key “user-data”:
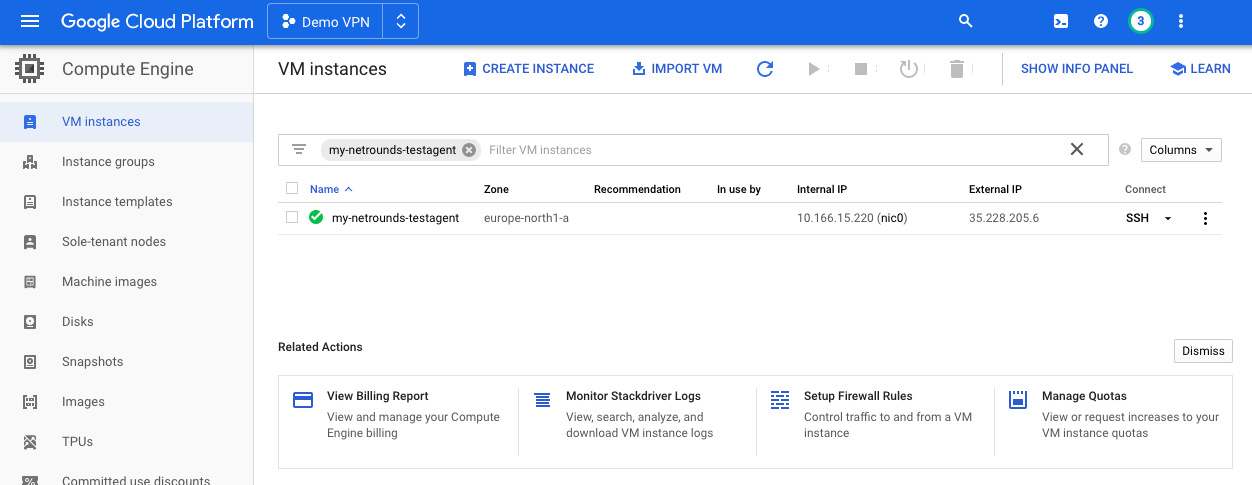
Once created and started, the instance will appear in the VM instances view:
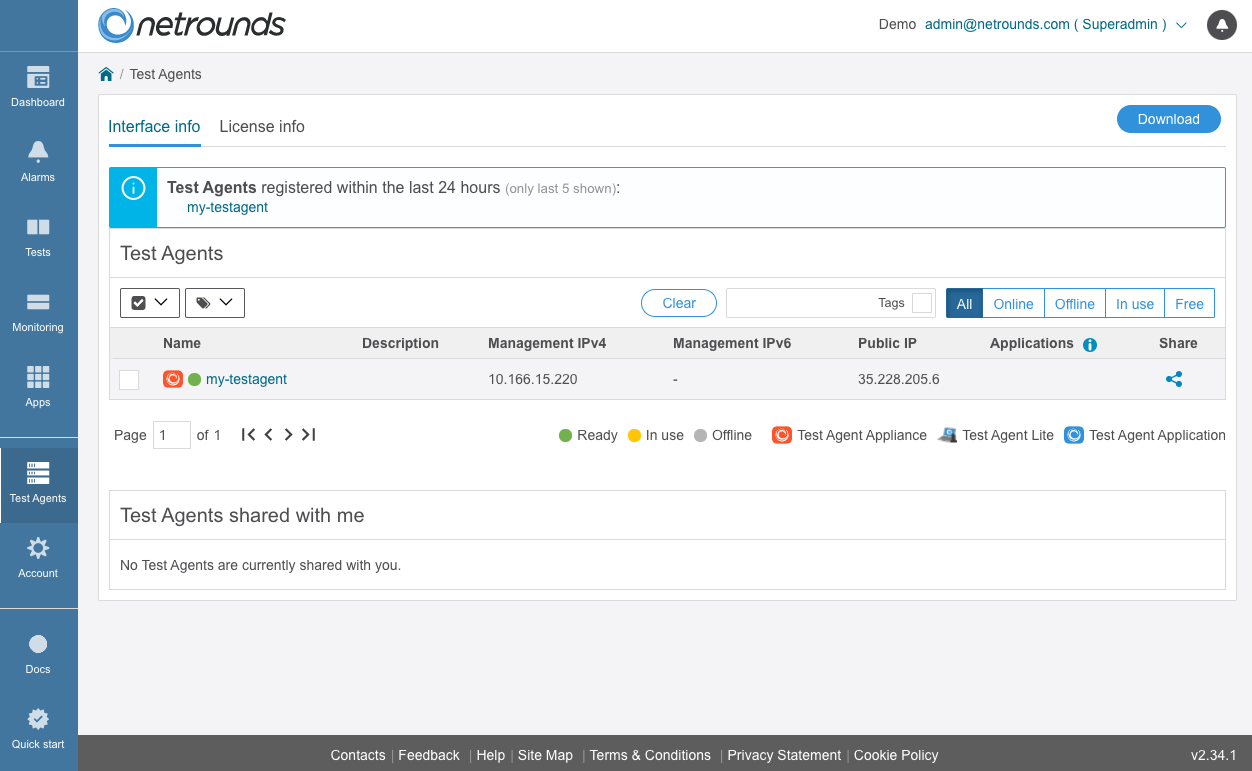
It should also appear in Control Center as a new Test Agent:
Troubleshooting
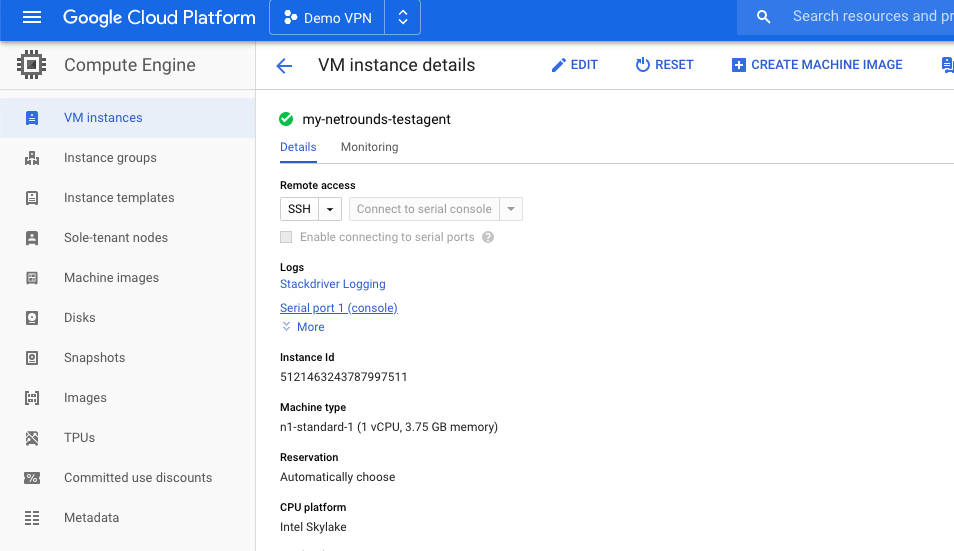
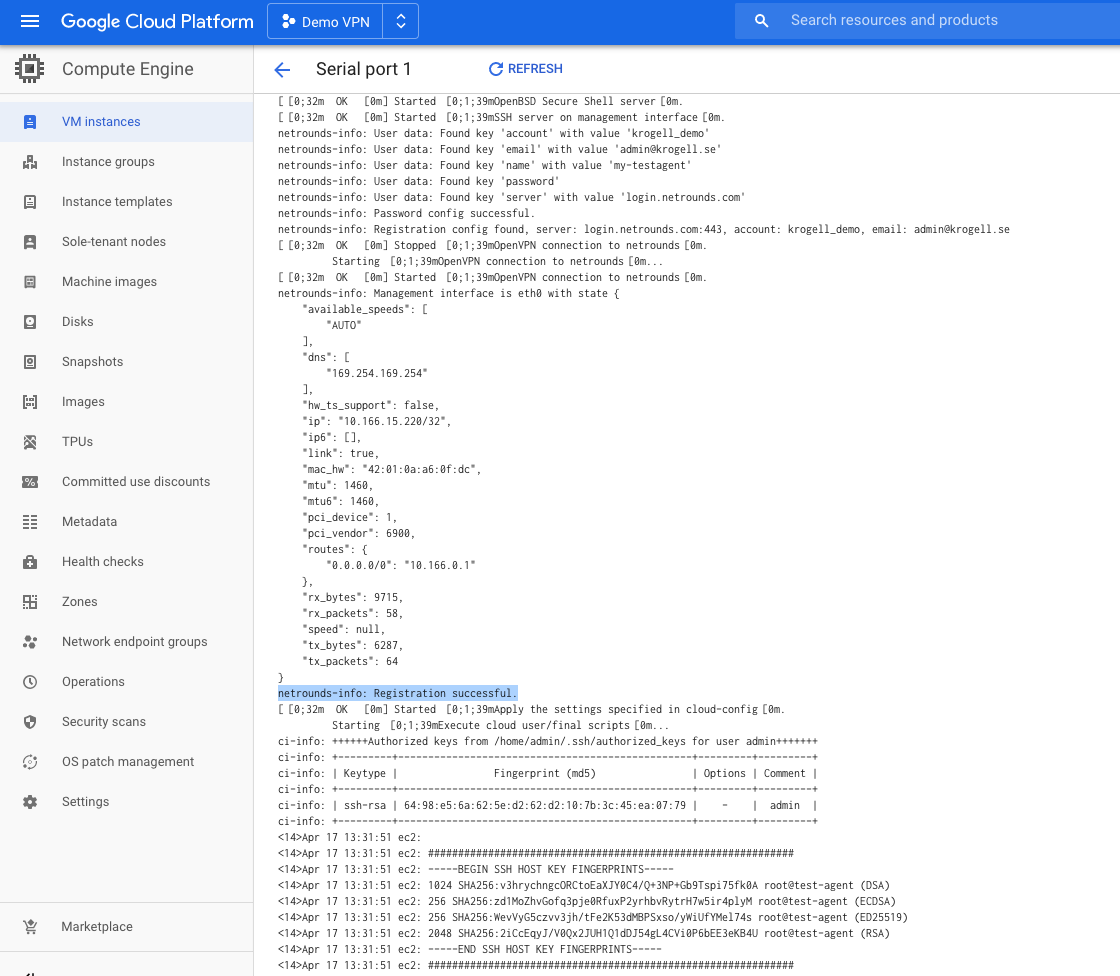
The instance serial log has details about boot-up and registration status:
Using the interactive serial console
As an alternative to using cloud-config to register the Test Agent with Control Center, it is possible to enable the interactive serial console (as explained here: https://cloud.google.com/compute/docs/instances/interacting-with-serial-console) and then use the regular serial CLI to manage the Test Agent directly in your web browser.