Deploying a virtual Test Agent in VMware
Introduction
This page explains how to start a virtual Test Agent from Routing Active Testing as a vApp on a VMware virtual machine.
Prerequisites
Control Center account
You need an account in a Routing Active Testing Control Center in order to access it: either the one belonging to the Routing Active Testing SaaS solution or one installed on-premise in your organization. If you do not already have a Routing Active Testing account, please contact your Juniper partner or your local Juniper account manager or sales representative.
vTA image
The VNF vTA image is provided either by one of Juniper’s partners or directly by Juniper.
The vTA image for VMware is provided in OVA (OVF/VMDK) format and is packaged using the OVF Tool which uses a SHA1 checksum. The OVF file specifies version VMX-09, since that is the lowest version which has the required functionality.
The OVF file also specifies 512 MB RAM and 2 GB block storage for the vTA.
Uploading and deploying a vTA image
Once you have your vTA image, you need to upload it to your VMware environment and deploy it. This can be done either via the VMware vSphere Client or with the OVF Tool.
The supplying of Routing Active Testing user data is done in the process of this deployment.
Uploading and deploying a vTA image via vSphere Client
This is possible only in Windows and iOS. If you are using a different operating system, you need to use the method in this section instead.
Log in to vSphere Client.
In vSphere Client, navigate to vCenter Inventory Lists.
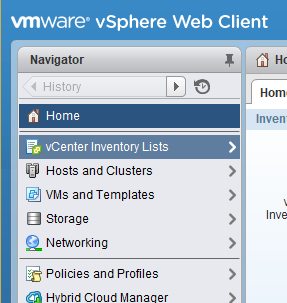
Select vApps.
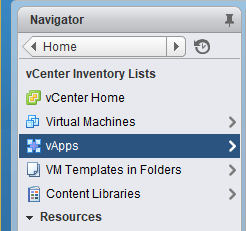
Click the Deploy OVF template button (circled in the screenshot below).

In the wizard that appears, select Local file and browse to select your OVA/OVF file. Then click Next.

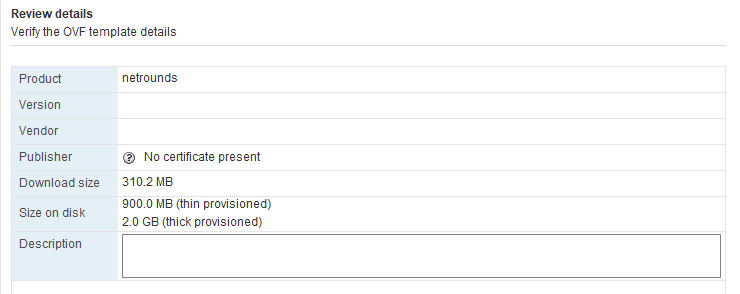
On the Review details screen, click Next.
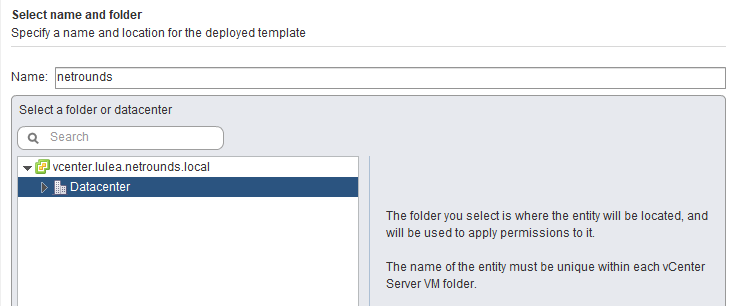
On the Select name and folder screen, Name is predefined as “netrounds”. Select a folder or datacenter as exemplified in the screenshot below. Then click Next.
On the Select a resource screen, select where to run the deployed template. Click Next.

On the Select storage screen, the settings can be left as-is. Select a datastore in which to store the files for the deployed template. Click Next.
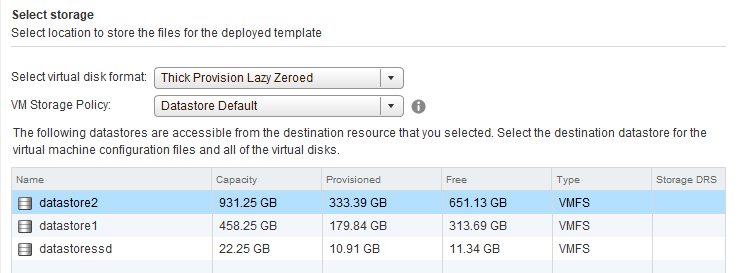
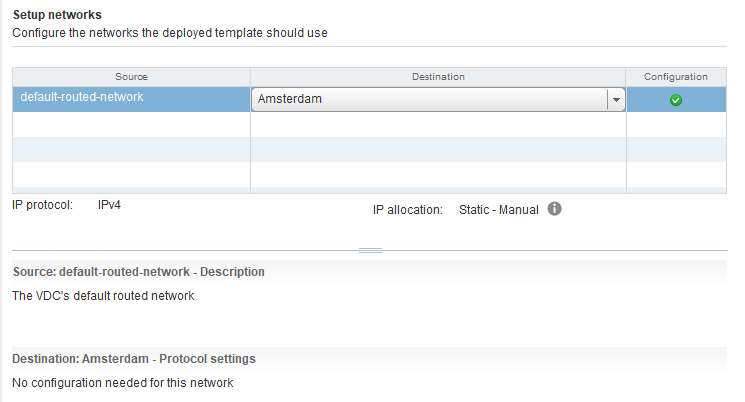
On the Setup networks screen, edit the configuration if necessary; otherwise, no action is required here. Continue by clicking Next.
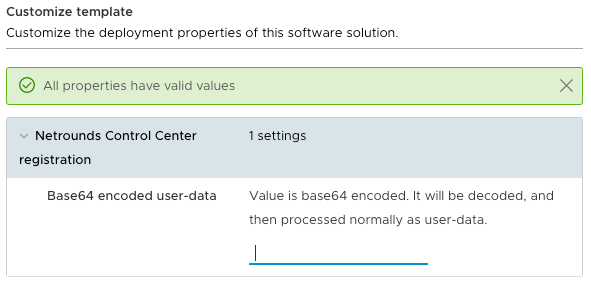
On the Customize template screen, you need to fill in your Routing Active Testing cloud-init config (“user-data”) in base64-encoded format.
The cloud-init config is as shown below. Replace the values as appropriate. Note that lines with parameter settings must be indented as shown. Lines where the default value is kept can be omitted.
#cloud-config
paa_test_agent:
  name: MyvTA                           # vTA name
  email: john.doe@example.com           # NCC user email
  password: secret                      # NCC user password
  account: theaccount                   # NCC account (short name, found in NCC URL)
  server: <login-server>:443            # NCC host and port (default == SaaS)
                                        #   Note: With an IPv6 server address the
                                        #   whole string including port must be in
                                        #   double quotes
  admin_password: secret                # Admin user password. Use null to
                                        #   disable.
  root_password: secret                 # Menu root shell access password. Use
                                        #   null to disable.
                                        #
  management_interface: eth0            # Test Agent management interface
  management_mtu: 1500                  # MTU on management interface
  management_address_type: dhcp         # Can be "dhcp" or "static"

  ## Set the following if using "static" above:
  # management_ip: 192.168.1.2/24
  # management_dns: 8.8.8.8, 8.8.4.4
  # management_default_gateway: 192.168.1.1
  # management_ntp: time.google.com

  ## Set the following if using an HTTP proxy:
  # http_proxy: myproxy.lan
  # http_proxy_port: 80
  # http_proxy_auth_type: none          # Can be "none" or "basic"
  # http_proxy_username: johndoe
  # http_proxy_password: secret

  ## Note: IPv6 management requires special config, see separate documentation
  # management_enable_ipv6: False
  # management_ntp_allow_ipv6: False
  # management_address6_type: none      # Can be "dhcp", "slaac", or "static"

  ## Set if "static". Note: Use CIDR format for IP
  # management_ip6: 2001:db8:85a3::8a2e:370:7334/64
  # management_dns6: 2001:4860:4860::8888, 2001:4860:4860::8844
  # management_default_gateway6: <gateway IP address>
In Linux you can use the base64 command to do the encoding:
base64 <user-data file name>.txt
Then click Next.
Finally, on the Ready to complete screen, review your settings. Then click Finish.
The OVF template will now be deployed in VMware. This will take a non-trivial amount of time; the progress of the deployment is shown in the Recent Tasks pane in vSphere Web Client:

Powering on the vTA
For the vTA to come online, you must power it on. In vSphere Client, do the following:
From the Home screen in vSphere Client, navigate to vCenter Inventory Lists > vApps, and select your vApp (by default named “netrounds”).
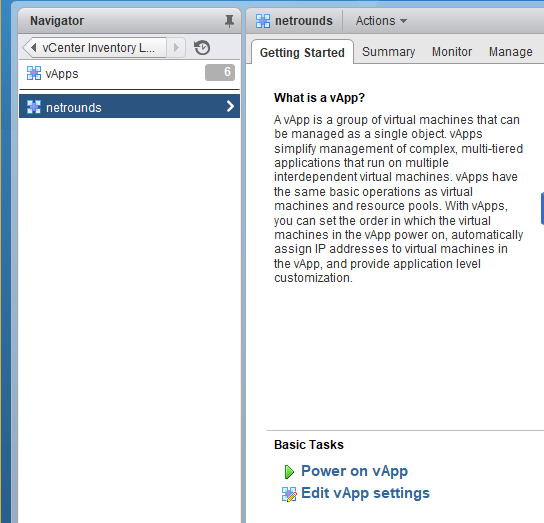
Click the Power on vApp link to power on the “netrounds” vApp. This powers on the NetroundsVTA virtual machine as well.
The vTA will now register with Control Center and appear in its web GUI under Test Agents. Check for the vTA name in that view to verify that the vTA has registered.
Uploading and deploying a vTA image with OVF tool
With OVF Tool the procedure for vTA deployment is as follows:
You first need to configure vTA user data in the OVF file. To this end, uncompress the OVA file, which among other things contains the OVF.
Open the OVF file in your text editor of choice and scroll down to the
ovf:ProductSectiontag:
<ovf:ProductSection ovf:class="" ovf:instance="" ovf:required="true">
<ovf:Info>Information about the installed software</ovf:Info>
<ovf:Category>Routing Active Testing Control Center registration</ovf:Category>
...
Inside that tag you will find several ovf:Property tags, each of which controls one data entry, identified by its ovf:key. To change the value of a Property, edit its ovf:value:
...
<ovf:Property ovf:key="netrounds.http_proxy" ovf:password="false" ovf:type="string"
ovf:userConfigurable="true" ovf:value="">
    <ovf:Label>Test Agent HTTP-Proxy server</ovf:Label>
    <ovf:Description>The address to a HTTP-Proxy. This is optional</ovf:Description>
</ovf:Property>
...
When you are done configuring vTA user data, compress the files back into an OVA again (use the tar format and then replace the file extension).
You are now ready to upload your vTA image with OVF Tool. The vTA image also needs to be powered on in the same command. Use this syntax:
$ ovftool --acceptAllEulas "--datastore=DATASTORE" "--network=NETWORK" --powerOn file.ova vi://USER:PASSWORD@SERVER/DATACENTER/host/HOST
Here, each CAPITALIZED word should be replaced with the appropriate value, and file.ova is the name of your OVA file.
Example:
content_copy zoom_out_map
$ ovftool --acceptAllEulas "--datastore=datastore1" "--network=VM Network" --powerOn vTA.ova vi://admin@netrounds.vsphere:mypassword@vcenter.lulea.netrounds.local/Datacenter/host/esxi.lulea.netrounds.local
Troubleshooting
If the vTA does not show up in Control Center, it is useful to open the vTA’s local console to investigate the cause of the problem.
From the Home screen in vSphere Client, navigate to vCenter Inventory Lists > vApps, and select your vApp (by default named “netrounds”).
Click the “netrounds” vApp once more in the left-hand navigation pane, then click Top Level Objects.
Click the “NetroundsVTA” object.
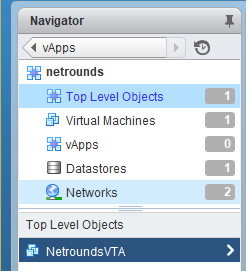
In the right-hand pane, at the top, open the Actions menu and select Open Console.
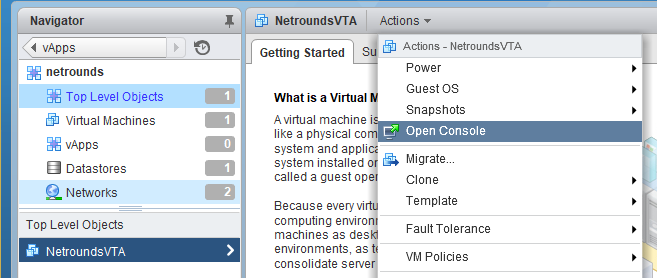
The console opens on a new tab. If you do not see the prompt shown below, click the Send Ctrl+Alt+Delete button in the top right corner.

Log in using the credentials indicated. You are taken to the top-level Probe Admin Menu:
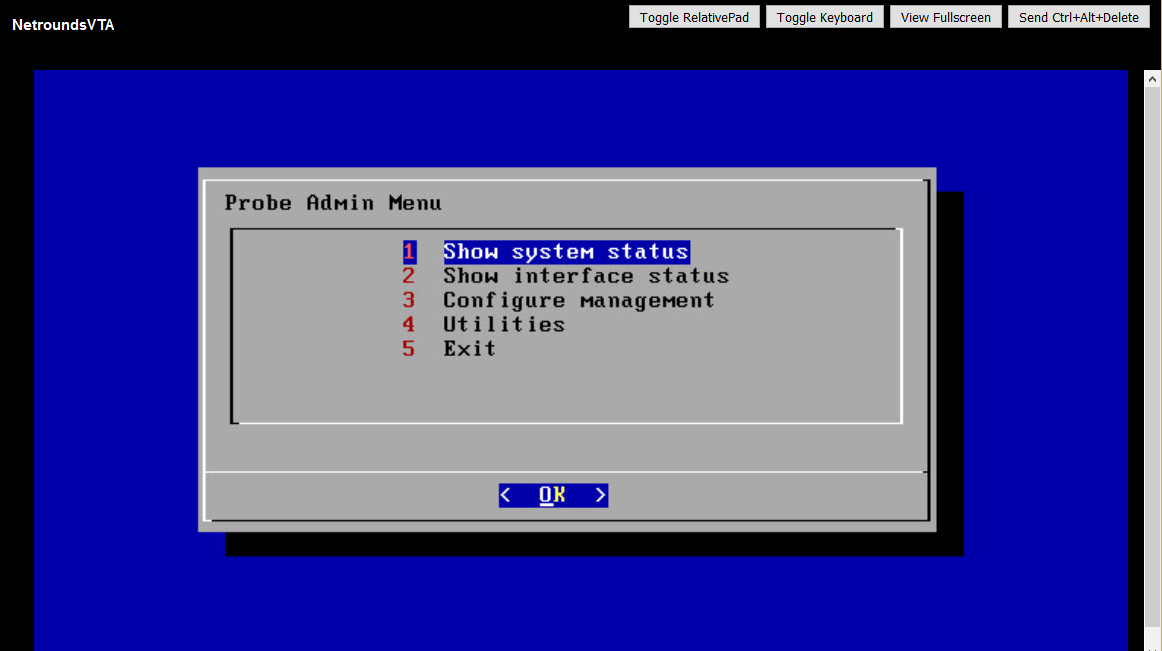
The functionality in this menu is described here. The following functions are particularly helpful:
Utilities > Ping for checking that the vTA has a working internet connection.
Utilities > Troubleshoot connection for verifying that the Routing Active Testing management connection is working.